
A readable inventory icon does not tell you how an item will look in a player's hand. Plan those views separately: a compact silhouette for the hotbar, a recognizable held shape, and a grip that leaves the important part visible.
Start with the view that needs changing
| What you want to change | Inspect first |
|---|---|
| Inventory or hotbar picture | Item icon and its texture reference |
| Outline of a custom held model | Geometry used by its attachable |
| Colors placed on that model | Texture and UV mapping |
| Correct shape, wrong position in a hand | Binding and view-specific animation/transforms |
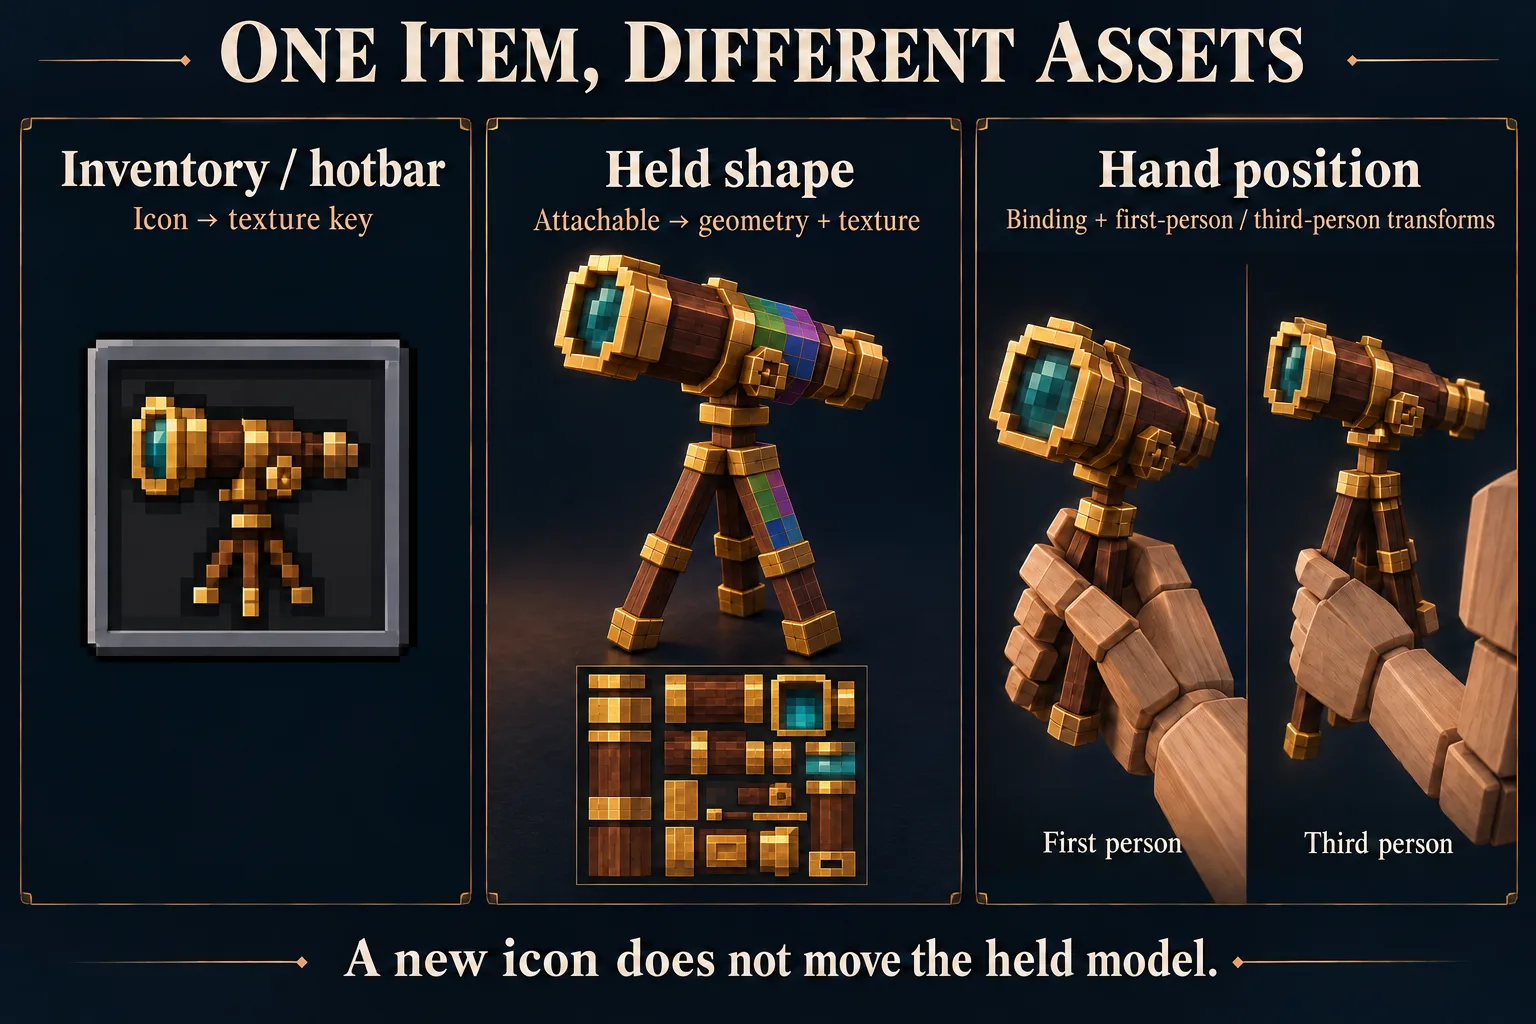
Bedrock's minecraft:icon chooses the item's icon. Its texture names refer to entries in the resource pack's textures/item_texture.json. An icon can be a different image from the texture mapped over a held model. Keeping both filenames explicit prevents a repaint of one from being mistaken for an update to the other.
For custom held geometry, an attachable connects the item's presentation to geometry, textures and materials, with animation and render-controller references where needed. minecraft:hand_equipped controls tool-style rendering in the hand; it does not generate a custom shape from a drawing.
Separate shape from grip
Imagine an original surveying tool with a wide copper head and a narrow wooden handle. If its head is too wide in every view, inspect the geometry. If the shape is right but the handle floats above the hand, inspect its binding and positioning. Enlarging the inventory PNG will not move the held model.
Microsoft's attachable tutorial separates first-person and third-person animation paths. A good position in one view therefore does not settle the other. Check the silhouette, the hand's contact with the handle and whether the item obscures the screen in both views.
Keep the inventory icon and held model separate
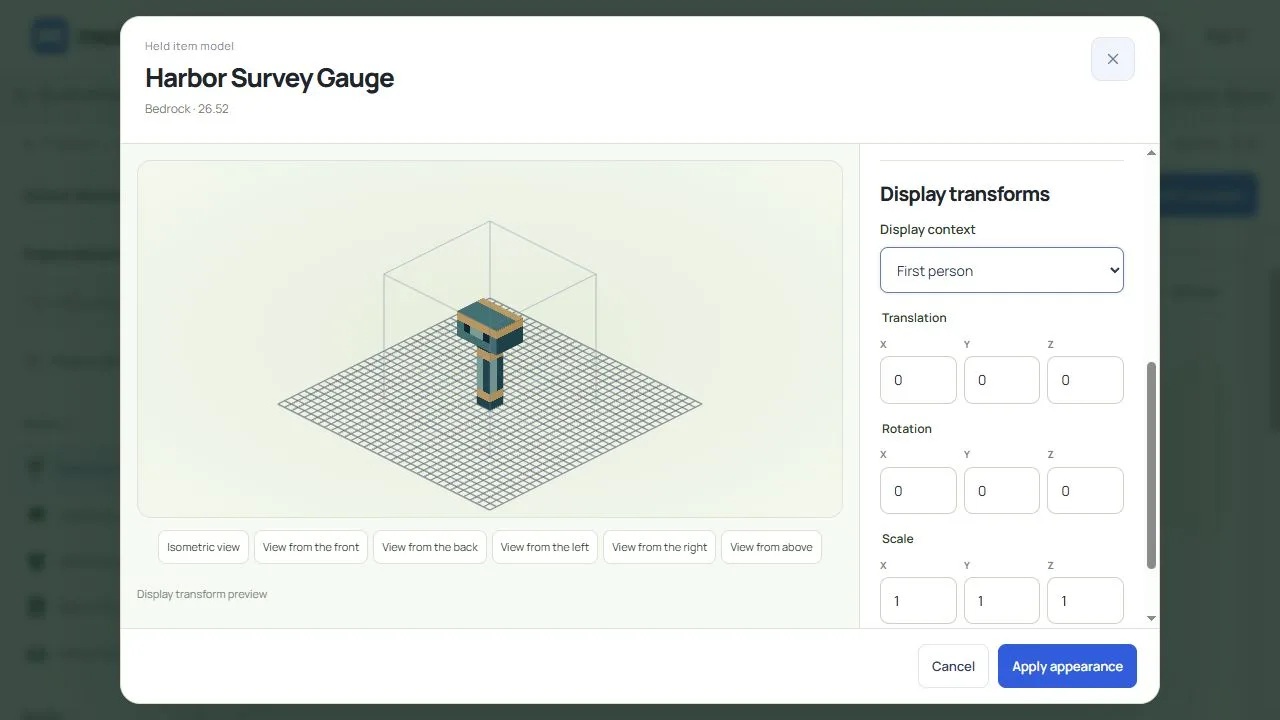
The Harbor Survey Gauge gives each view its own job: a small inventory icon for finding the item, and a two-part model for its shape in a hand. It is a decorative Material item; the model does not add scanning, zoom or another use action.
Select Harbor Survey Gauge in the constructor. Its main texture is the inventory icon. Open Edit held model, then Edit shape and face mapping, to inspect the held shape and its separate texture. Repainting the icon is not the same as repainting the model's faces.
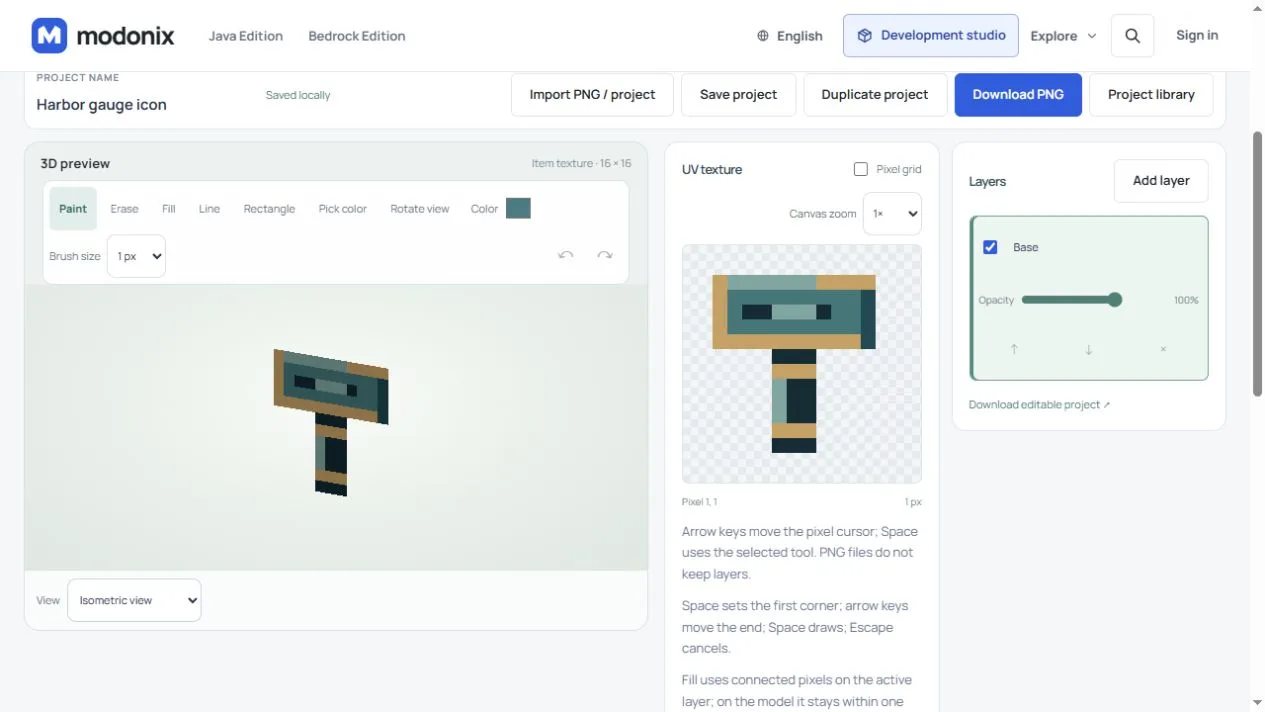
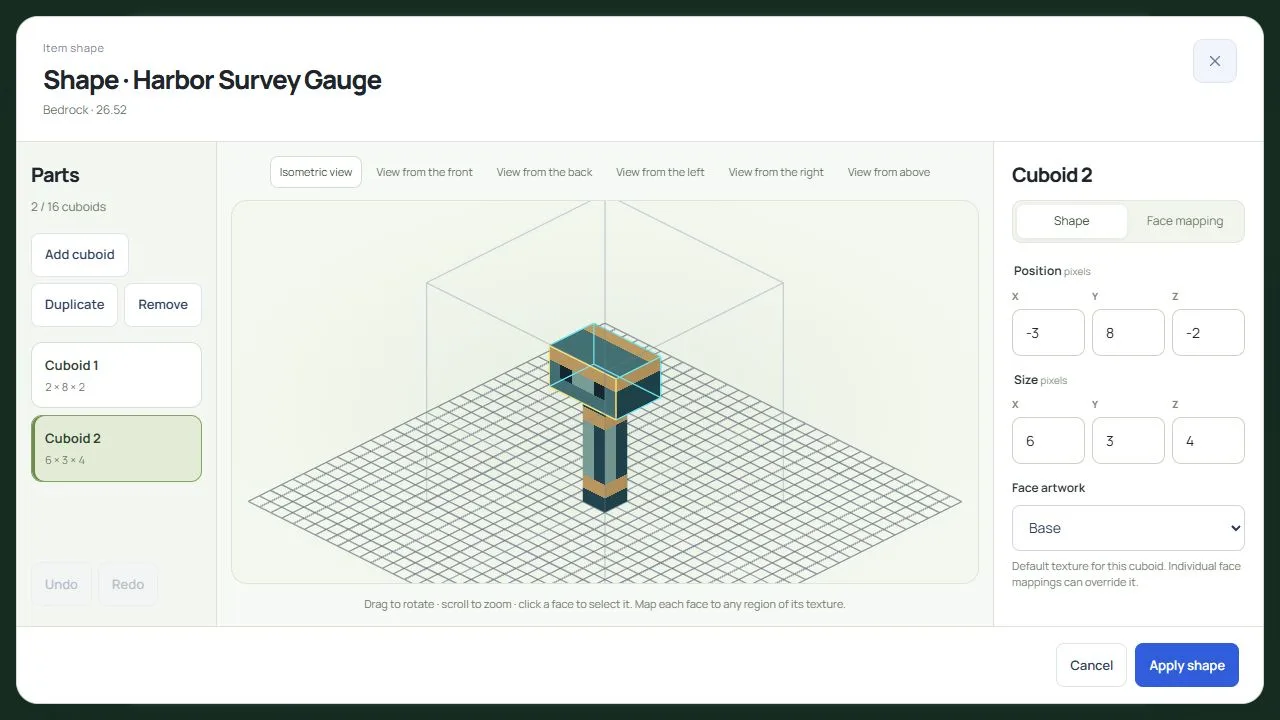
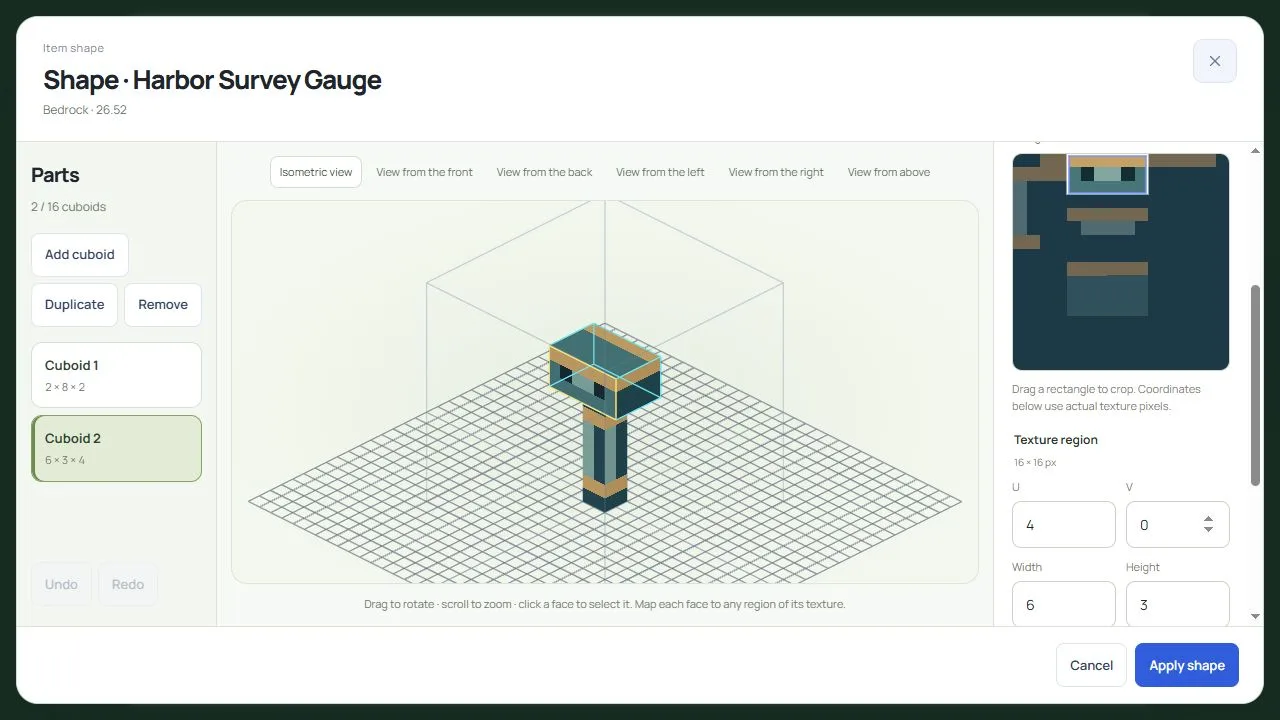
The gauge has a narrow handle and a wider head. The handle starts at −1, 0, −1 with size 2, 8, 2; the head starts at −3, 8, −2 with size 6, 3, 4. They meet at height 8. Select each part and inspect its face mappings so the handle and head use the intended areas of the held texture.
Check First person and Third person separately. This example starts with translation and rotation at 0, 0, 0, and scale at 1, 1, 1, in both contexts. The editor preview is not the in-game hand view. Compare the inventory icon, first-person view and third-person view before adjusting placement. If the shape is right but its position is wrong, change the relevant display context instead of enlarging the icon.
Keep a small asset worksheet
Write down the target Bedrock version, item identifier, icon texture key, geometry identifier, model texture and the two view adjustments. Save an editable source copy before export. Use the schema for that target version instead of pasting current component syntax into an older project.
If you still need to choose between changing an existing item and adding a new one, start with the creator project selector. Once the route is chosen, finish one item through inventory, first-person and third-person checks before duplicating the design into a set. A model preview alone does not confirm the exported item's appearance in the game.
Comments 0
Share what worked, ask for help or reply to another player.
Use your Modonix account to join the discussion and manage your comments.
Sign in to commentNo comments yet. Share what worked for you.