Wetland Ranger gives a river explorer a moss-green jacket, field cap and small tan pack. Turquoise cuffs and a pale shirt break up the green, while dark trousers and boots keep the outfit grounded. It fits a riverside base, a mapping trip or a character who looks after paths between small settlements.
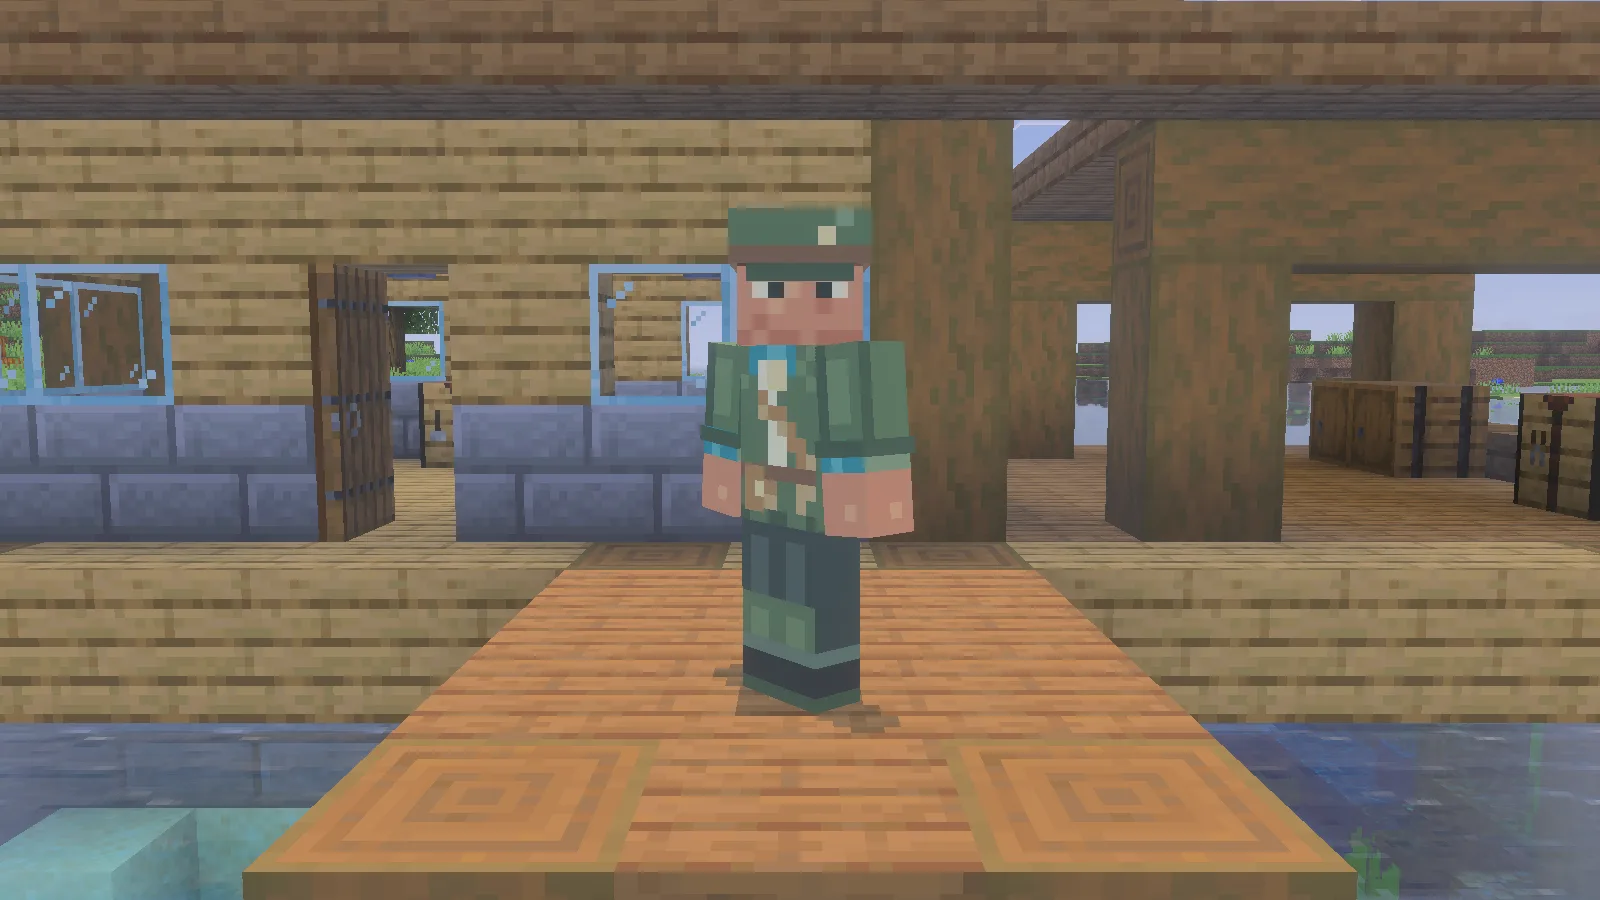
The Ranger’s field cap, tan strap and turquoise cuffs against a timber landing.
Give the outfit a home
A boat landing, sheltered map table and supply chest make a useful corner for this character. A timber wall or pale sandbank gives the green clothes a clearer outline than dense leaves. Keep the scene simple enough that the cap, cuffs and diagonal strap remain easy to see.
From behind, the tan pack becomes the main detail. It is painted artwork, so bring your normal inventory supplies; the skin does not add storage. Switch to third-person view when you want a portrait and leave enough room in the frame for both the cap and boots.
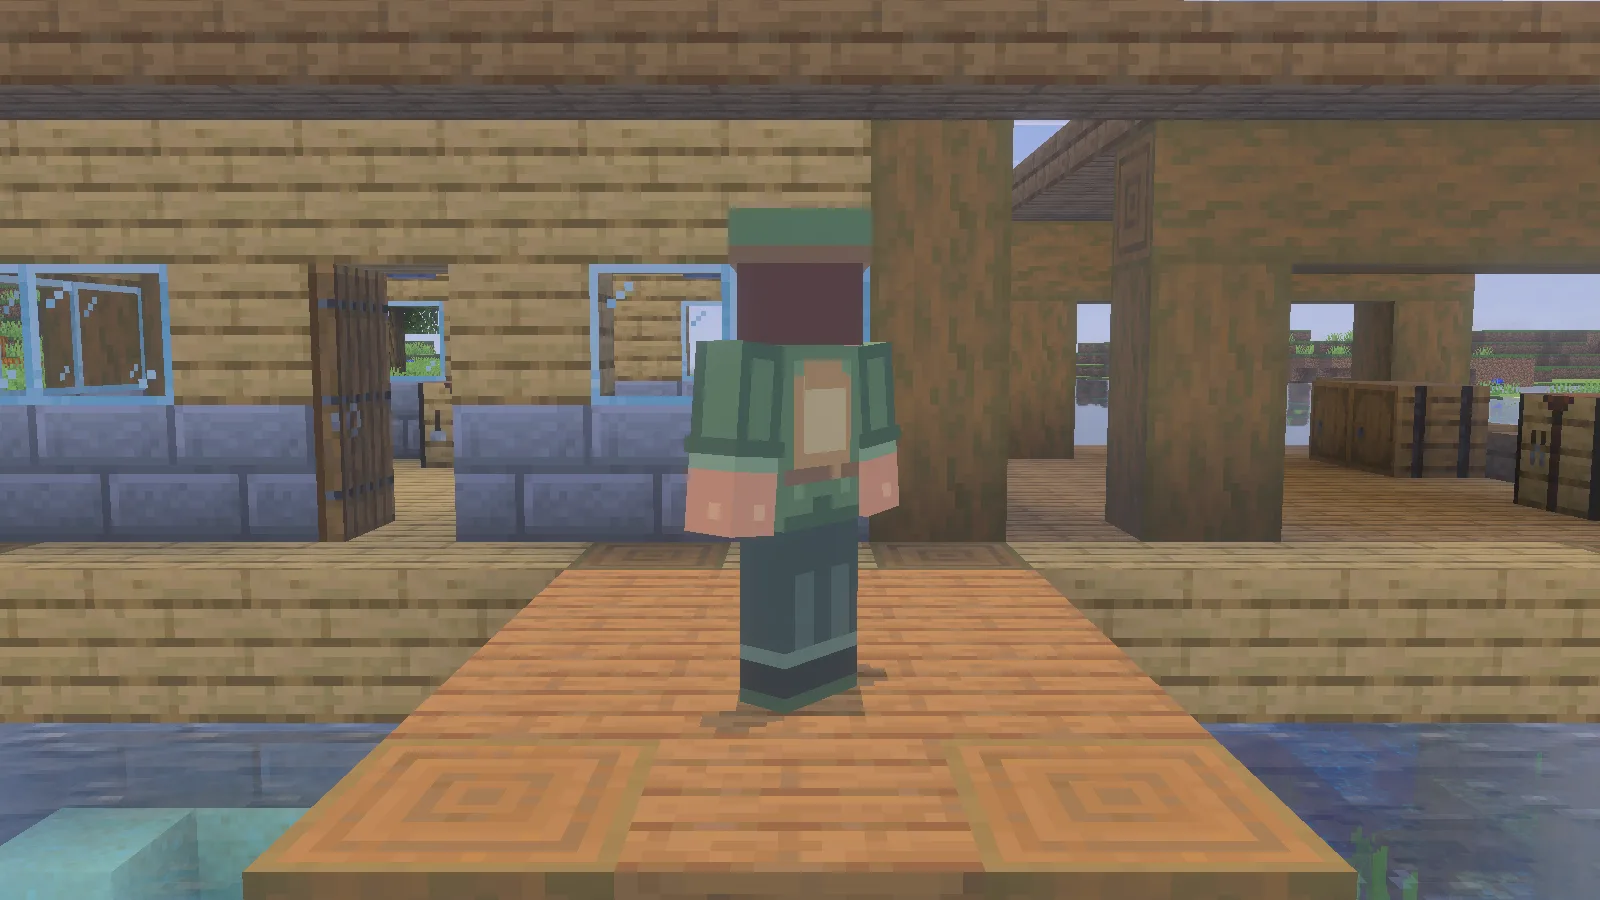
The tan pack and jacket details from behind. The pack is part of the skin artwork.
Import the original PNG
This is a 64 × 64 Classic skin with four-pixel-wide arms. The following route uses Windows Bedrock’s Dressing Room.
- Save modonix-wetland-ranger.png from Files. Use the original skin PNG, not a picture of the character.
- In Windows Bedrock, open Dressing Room → Classic Skins.
- Under Owned Skins, select the blank character tile and choose Choose New Skin. Select the saved PNG.
- When the two model previews appear, choose the right-hand, wide-arm model. This artwork uses Classic arms, four pixels wide; Slim uses three.
- Return to your character and check the cap, sleeves and back before taking an outfit picture.
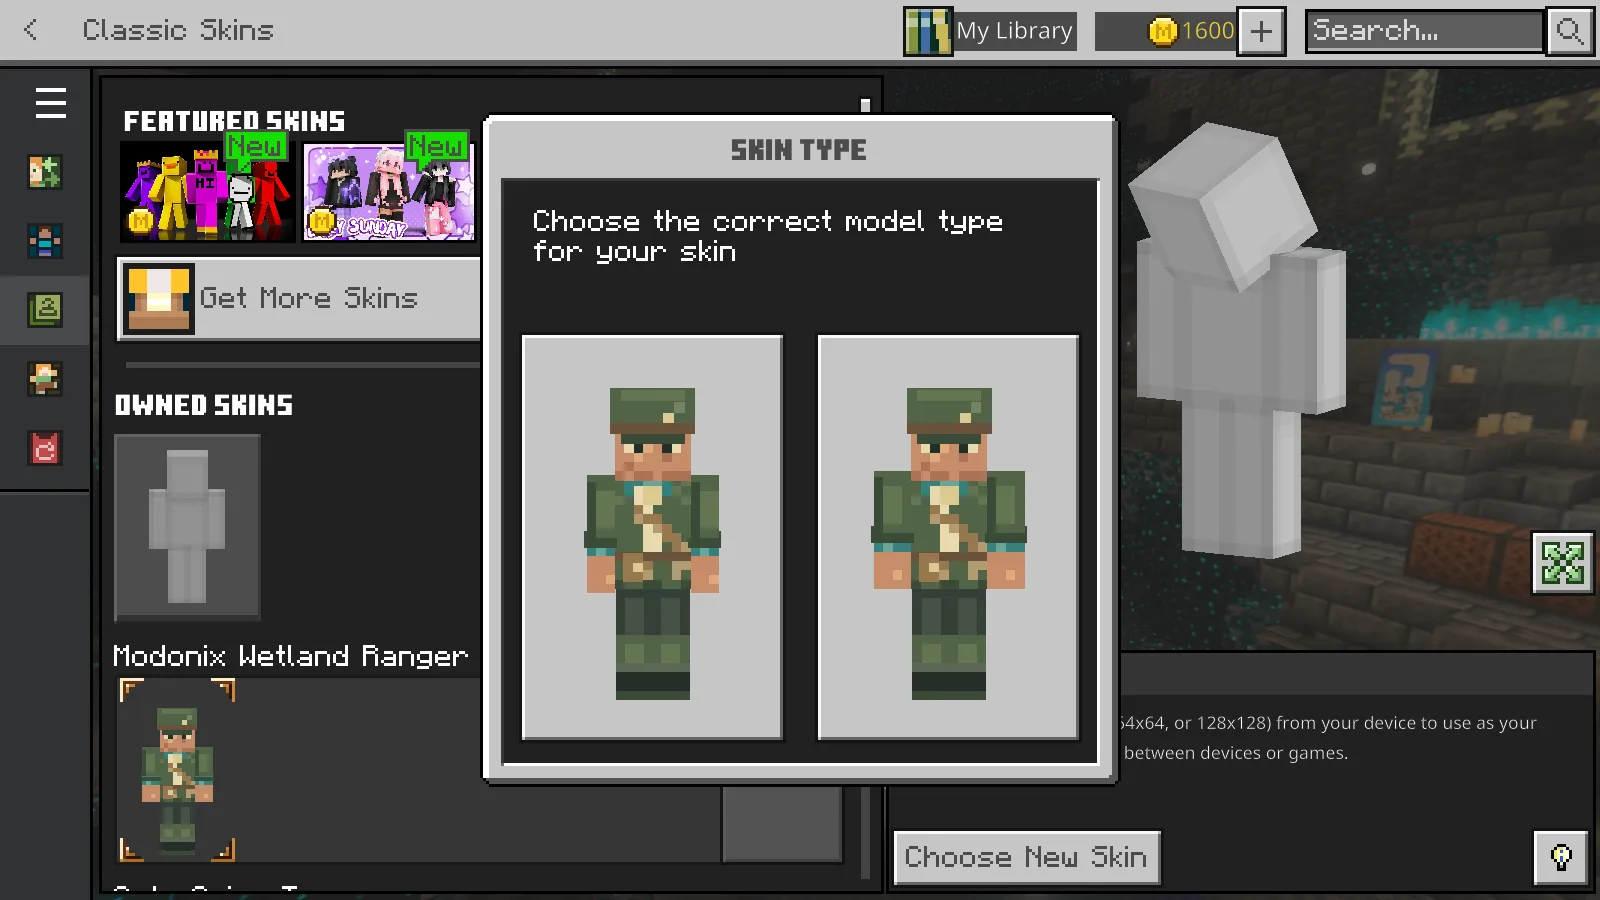
Choose the wide-arm model on the right for this Classic skin.
The separate one-skin MCPACK packages the same Ranger artwork. Open that file with Minecraft, then find Modonix Wetland Ranger among your Classic Skins. The PNG is the simplest choice when you only want to equip this one outfit; the Source ZIP is for editing, not importing into Dressing Room.
If the pack does not appear straight away, close and reopen Minecraft, then return to Owned Skins.
Make a small color edit
Start with the turquoise cuffs before repainting the whole jacket. Preserve the shading and check both arms and the back after exporting.
The Source ZIP offers two ways to edit the drawing. For visual editing, open a working copy of source/skin.ora in an OpenRaster-capable editor. Its base, details and outer layers are also included as separate PNGs. Keep the canvas at 64 × 64, use a one-pixel pencil with smoothing off, and preserve transparent areas around the outer layer. Export a flattened PNG from the editor and keep the layered copy for later changes.
For the code-based version, edit source/design.json, then run python source/build-skins.py from the extracted package folder. The exporter writes PNGs to build/. It reads the pixel-operation design; it does not read changes made only in the ORA drawing. Choose one workflow for an edit so the two sources do not drift apart.
Artwork © 2026 Modonix. All rights reserved. The exporter code has a separate MIT license; that license does not grant permission to redistribute the skin artwork.
Comments & questions
Share what worked, ask for help or reply to another player.
No comments yet. Share what worked for you.