Construct helps you rebuild a saved design in Bedrock by showing a hologram where each block belongs. Bring the matching materials, work through the outline and turn it into a real structure. It is useful for a repeated gate, a matching window bay or a small roof section whose shape you want to keep consistent.
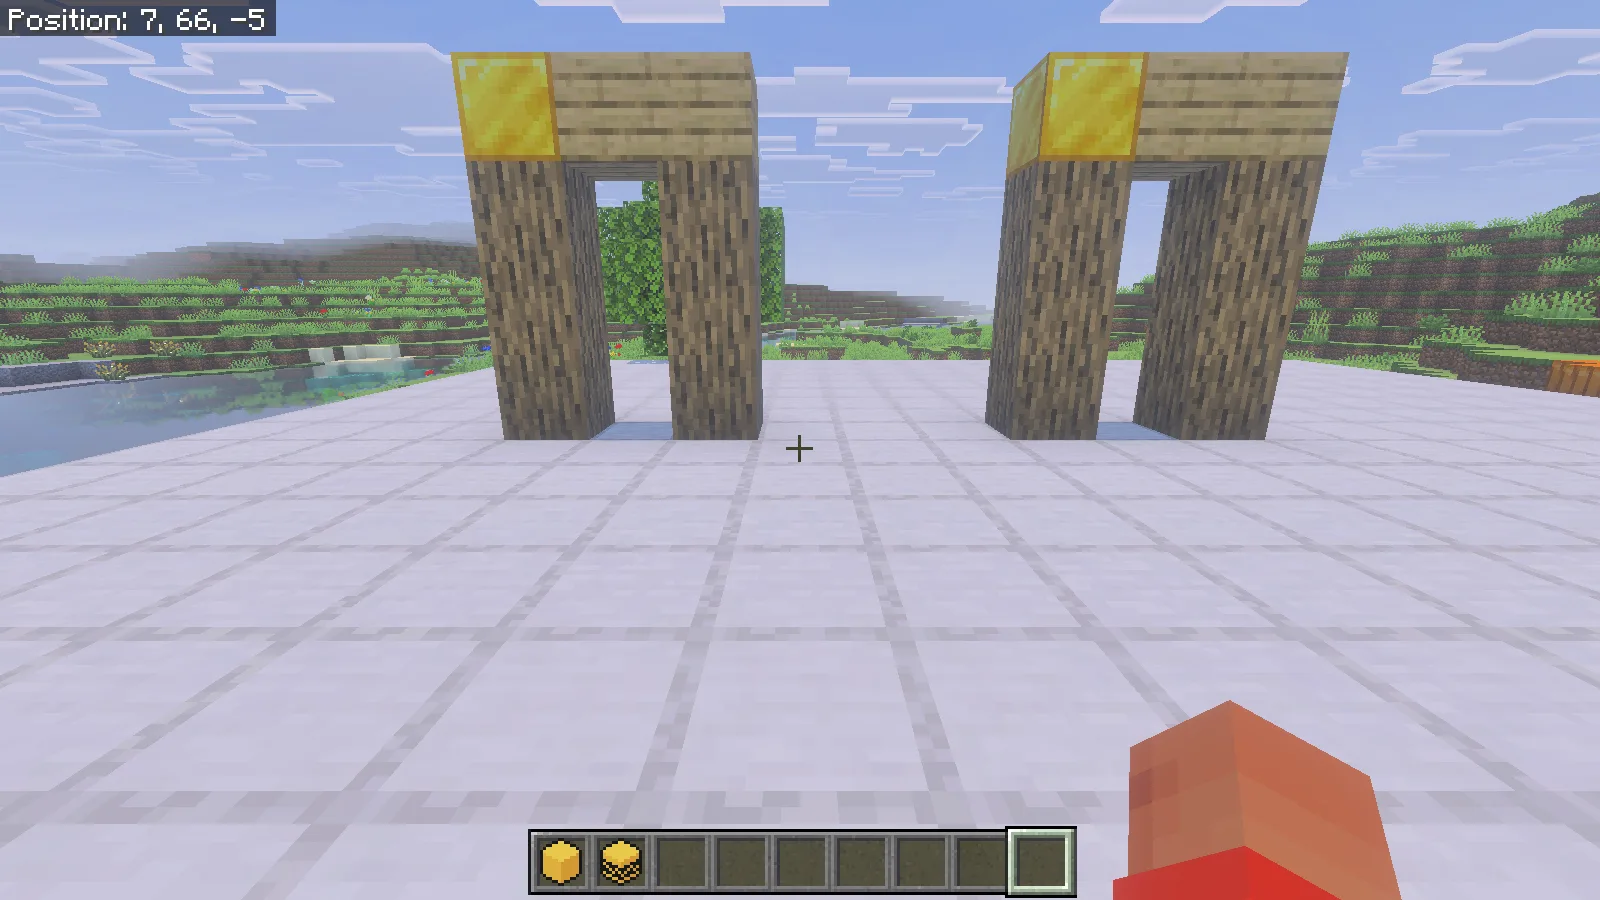
Our example starts with a nine-block arch and finishes with a second complete arch beside it. Six oak logs, two oak planks and one gold block were placed through Fast Easy Place in Survival. The gold corner makes the template's orientation easy to follow.
Install the matching packs
This example uses Construct 1.2.1 on Windows Bedrock 26.52. Open the author's .mcaddon with Minecraft, wait for its imports, then activate the Construct behavior pack and matching resource pack in a copy of your world. Enable Beta APIs in that world's Experiments settings. The structure-saving setup below uses commands, so the world owner needs cheats enabled and permission to run them.
Begin with a small design on clear ground. Leave room beside it for the copy and enough space to stand outside the projected blocks. Keep the original intact until the new build is complete.
Save a template and position its guide
Our arch occupies the box from 2,66,2 to 4,69,2. That is three blocks wide, four high and one deep, including the air in the opening. Save those bounds under a structure name, then give its Construct instance a short label:
/structure save modonix:gate 2 66 2 4 69 2 false disk true
/construct:create Gate modonix:gate
/construct:place Gate minecraft:overworld 8 66 2
/construct:construct
Use your own coordinates when saving a different build. Here, modonix:gate names the saved template and Gate names the guide placed in the world. The final command gives the Construct menu item. Hold it and right-click, then select Gate.
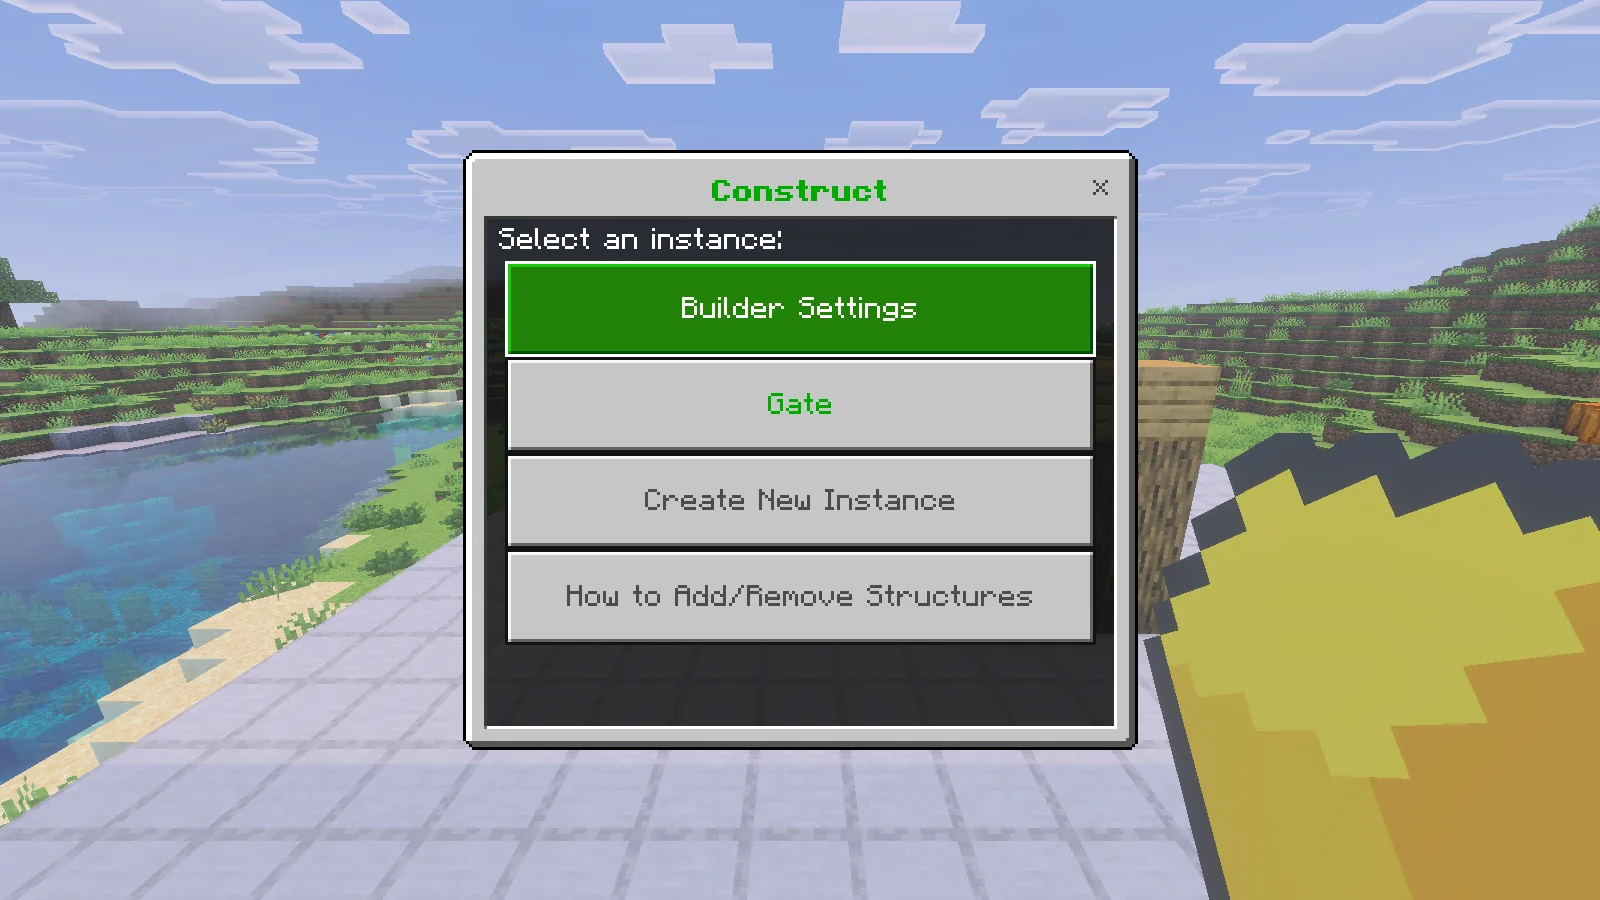
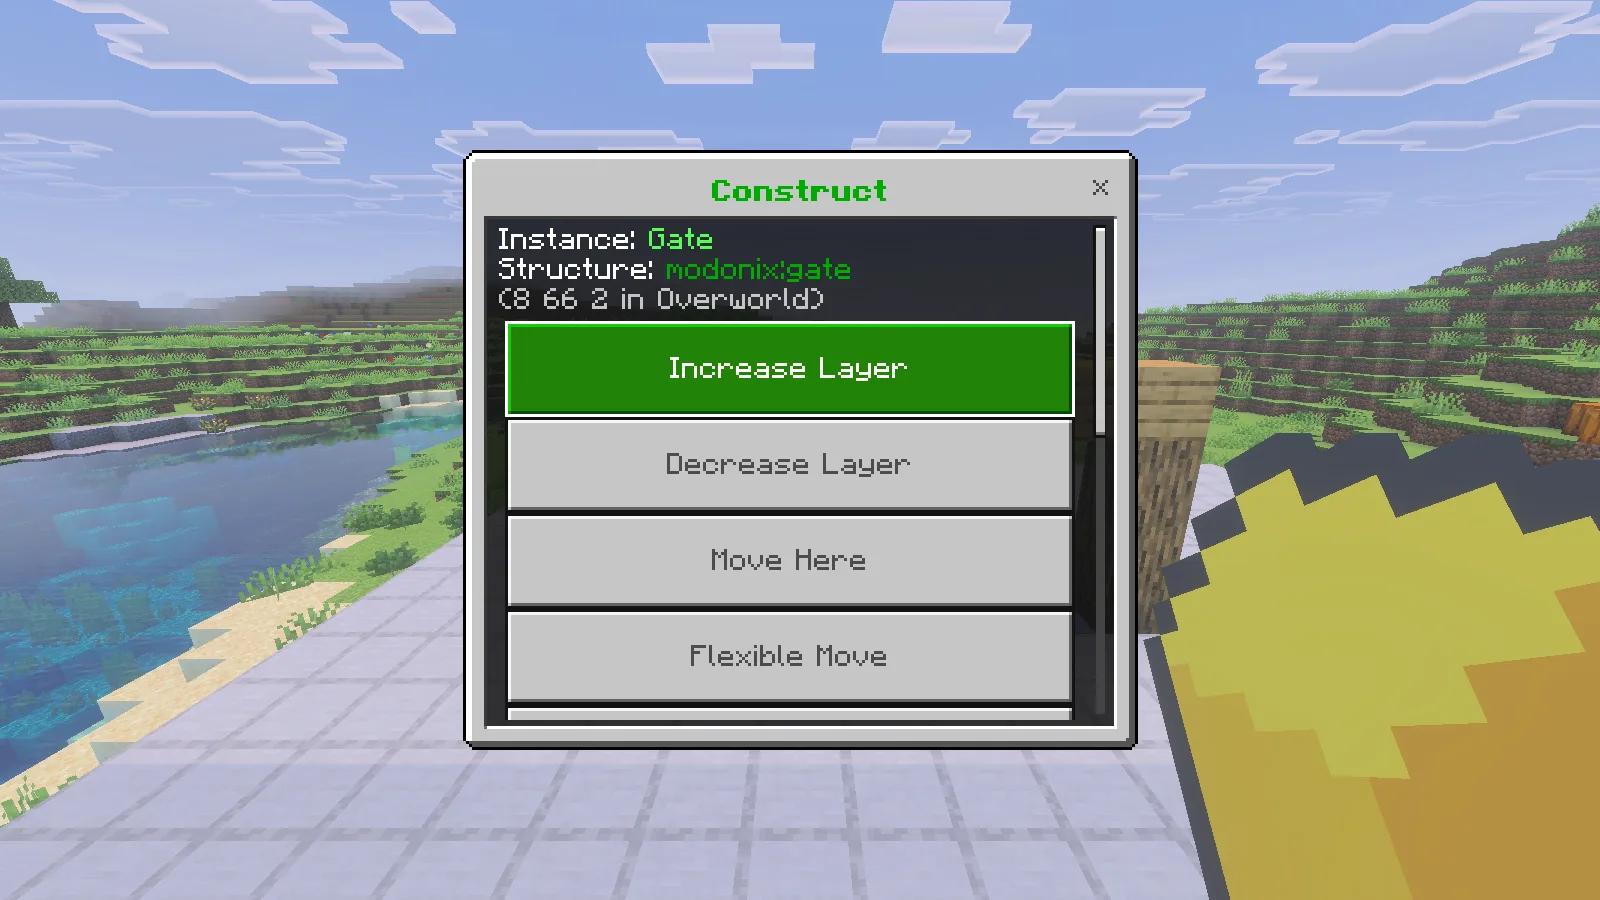
The Gate screen identifies the template and its location, with controls for layers and positioning together in one place. Check the intended position before building. Placing the guide creates a hologram; supplying and placing the blocks is the next step.
Bring materials and place the first block
For this arch, bring six oak logs, two oak planks and one gold block. Keep them in your inventory, then enable Fast Easy Place with /construct:builder fastEasyPlace true. Hold the Easy Place item in your main hand. In Survival, aim at a missing block in the guide and use a short right-click.
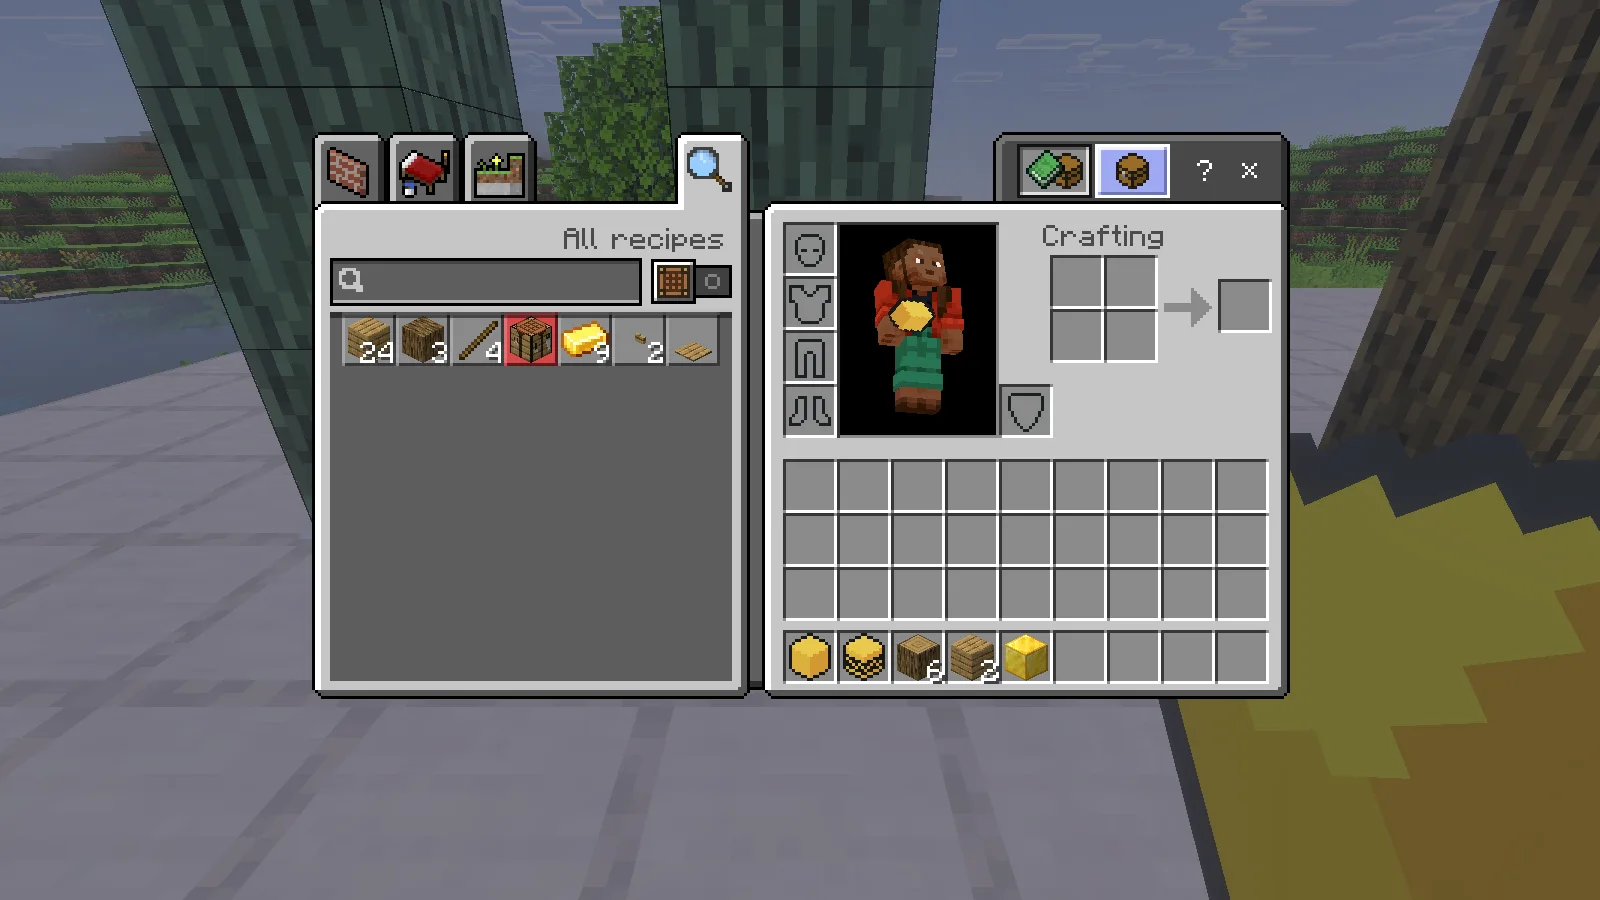
Start at the bottom of a pillar so the result is easy to inspect. Our first click placed one real oak log and reduced the stack from six to five. The remaining blue-tinted blocks were still the guide. The target display named the required oak log and showed its vertical pillar axis.
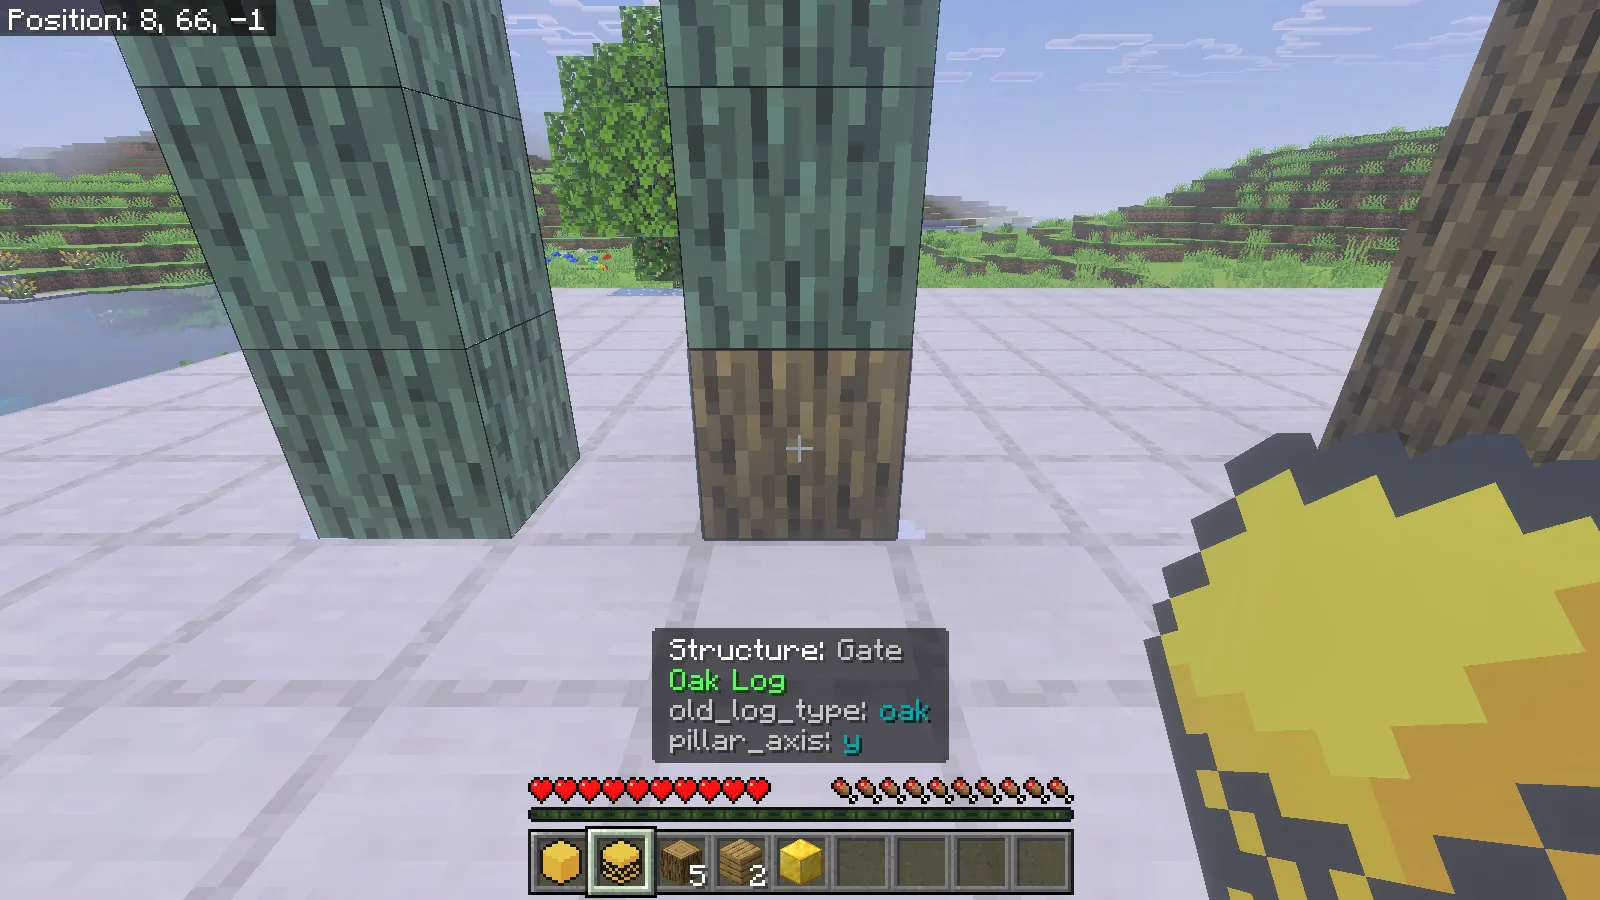
Use separate short clicks while learning the tool. Holding use can repeat placement. If a block will not place, check that you have its matching material, that Fast Easy Place is enabled and that you are holding the tool in the correct hand. Stand clear of the target and check its supporting surface.
The separate Easy Place option uses the tool in the offhand while you place blocks normally. Keep that distinction in mind when following another tutorial: the main-hand workflow demonstrated here is Fast Easy Place.
Finish, check and hide the guide
Work up both pillars, then complete the beam and gold corner. /construct:stats Gate reports how much of the design matches. Our count progressed from zero correct blocks to one, then nine, with none missing at completion. The original six logs, two planks and gold block were all consumed by the finished Survival build.
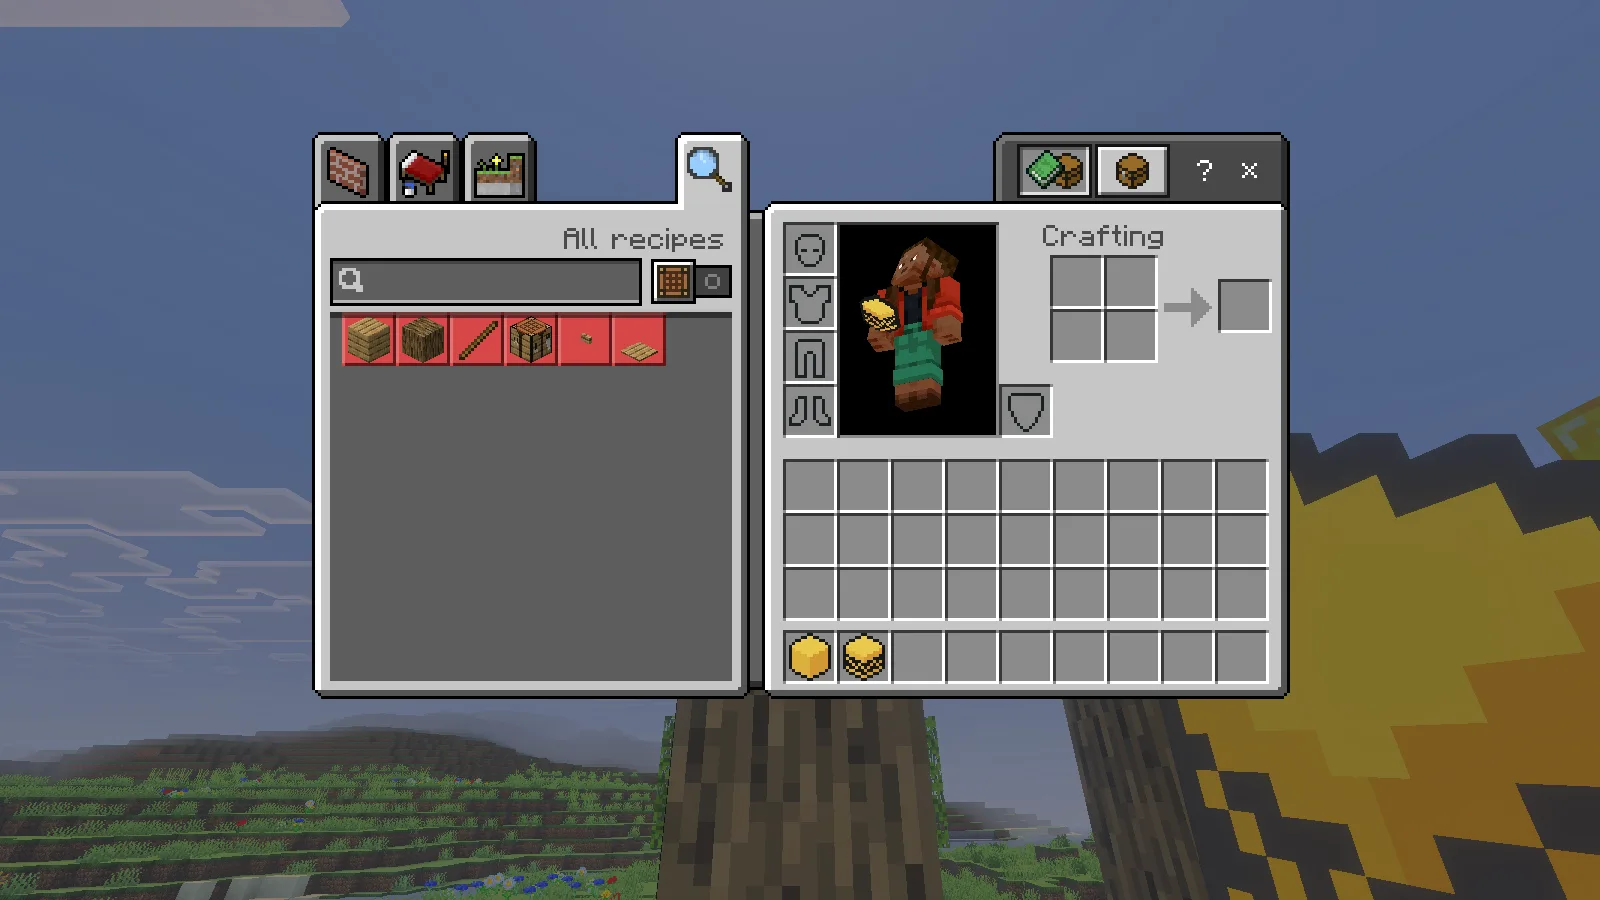
Use /construct:enable Gate false to hide the guide and inspect the actual structure. Both arches remained standing after saving and reopening the world. Check the opening and the top corners before adding doors, lights or neighboring walls.
Check /construct:stats Gate while the guide is enabled. In our Construct 1.2.1 test on Windows Bedrock 26.52, requesting stats for a disabled guide caused an error. If this happens, enable the existing guide with /construct:enable Gate true, save and quit, then reopen the world before checking stats again. You do not need to create or place Gate again.
For a row of matching entrances, keep the saved template and create separately named instances at the next positions. Give each one a recognizable name, such as NorthGate, and check its location before spending materials. Start with one repeatable section; a clear template and a small material list make mistakes easier to spot.
Comments & questions
Share what worked, ask for help or reply to another player.
No comments yet. Share what worked for you.