
Copper Mechanic pairs a warm copper-colored apron with charcoal work clothes. Turquoise goggles and a small wrist accent give the outfit a brighter detail, while the apron straps carry the design around the back. It suits a workshop keeper, rail-yard caretaker or player arranging a compact redstone workspace.
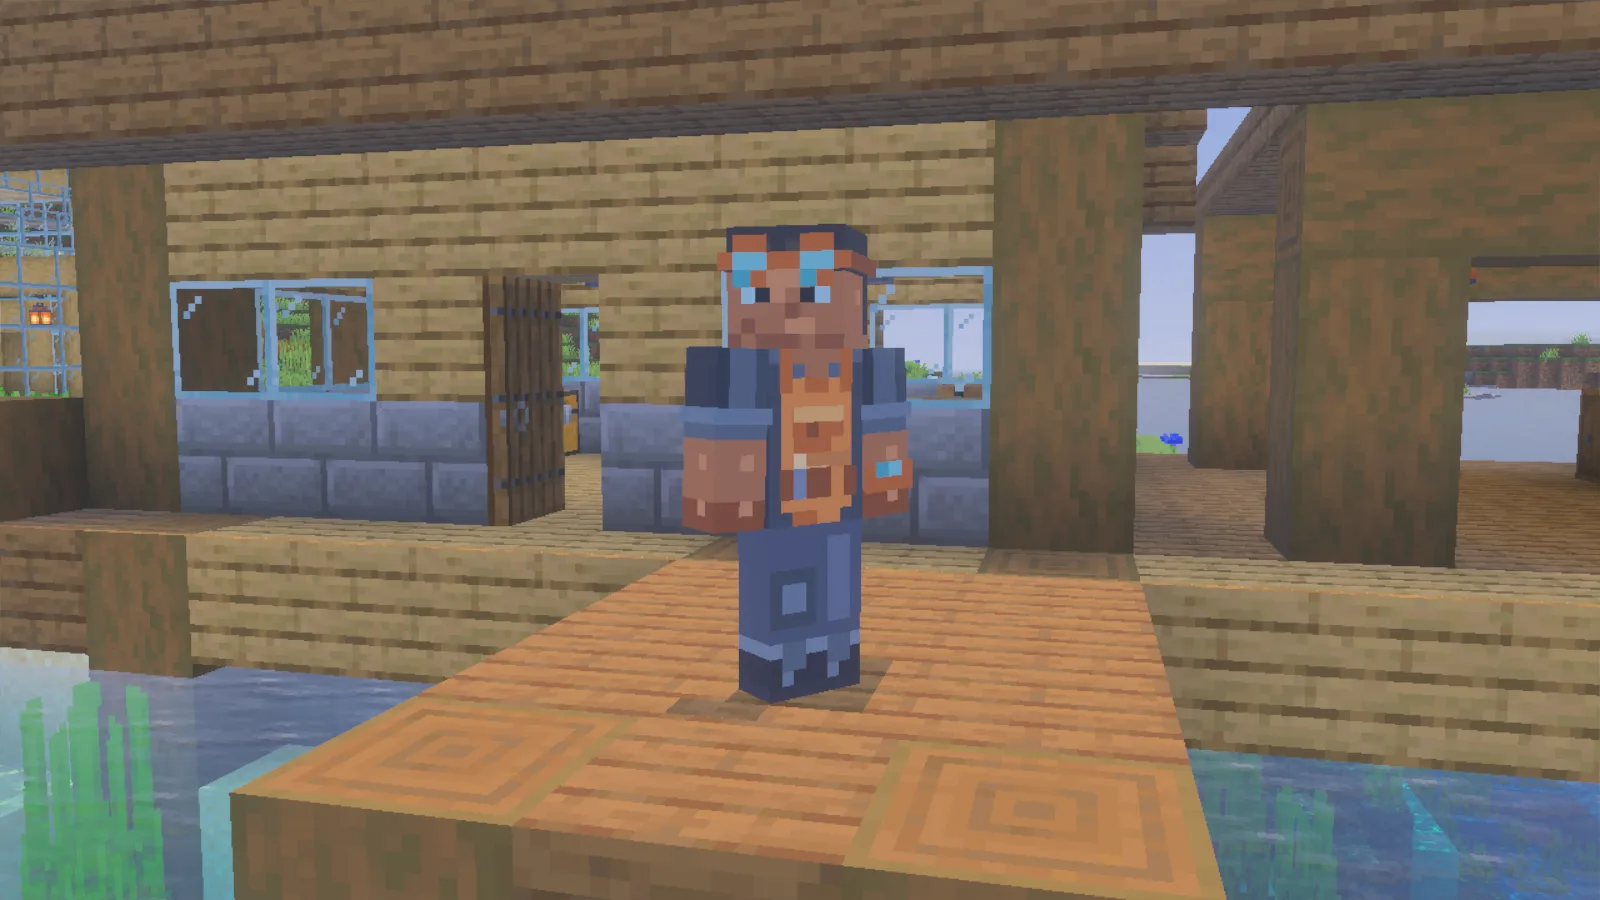
Copper Mechanic’s goggles and apron at the workshop entrance.
Build a useful workshop corner
Place a workbench beside labeled storage and leave a short demonstration circuit near the entrance. A lamp switch or service door gives the scene a practical purpose. Copper, timber and plain stone make a fitting backdrop without hiding the character’s outline in tiny details.
The apron, goggles and pocket shapes are painted skin features. They are not armor or tools, so equip your normal protection when you need it. Remove armor for an outfit picture if you want to show the drawing clearly.
Use a front view for the goggles and apron, then turn around to show the straps against the dark shirt. The sleeve and wrist are also worth checking: they are the parts you will see while holding your usual tools.
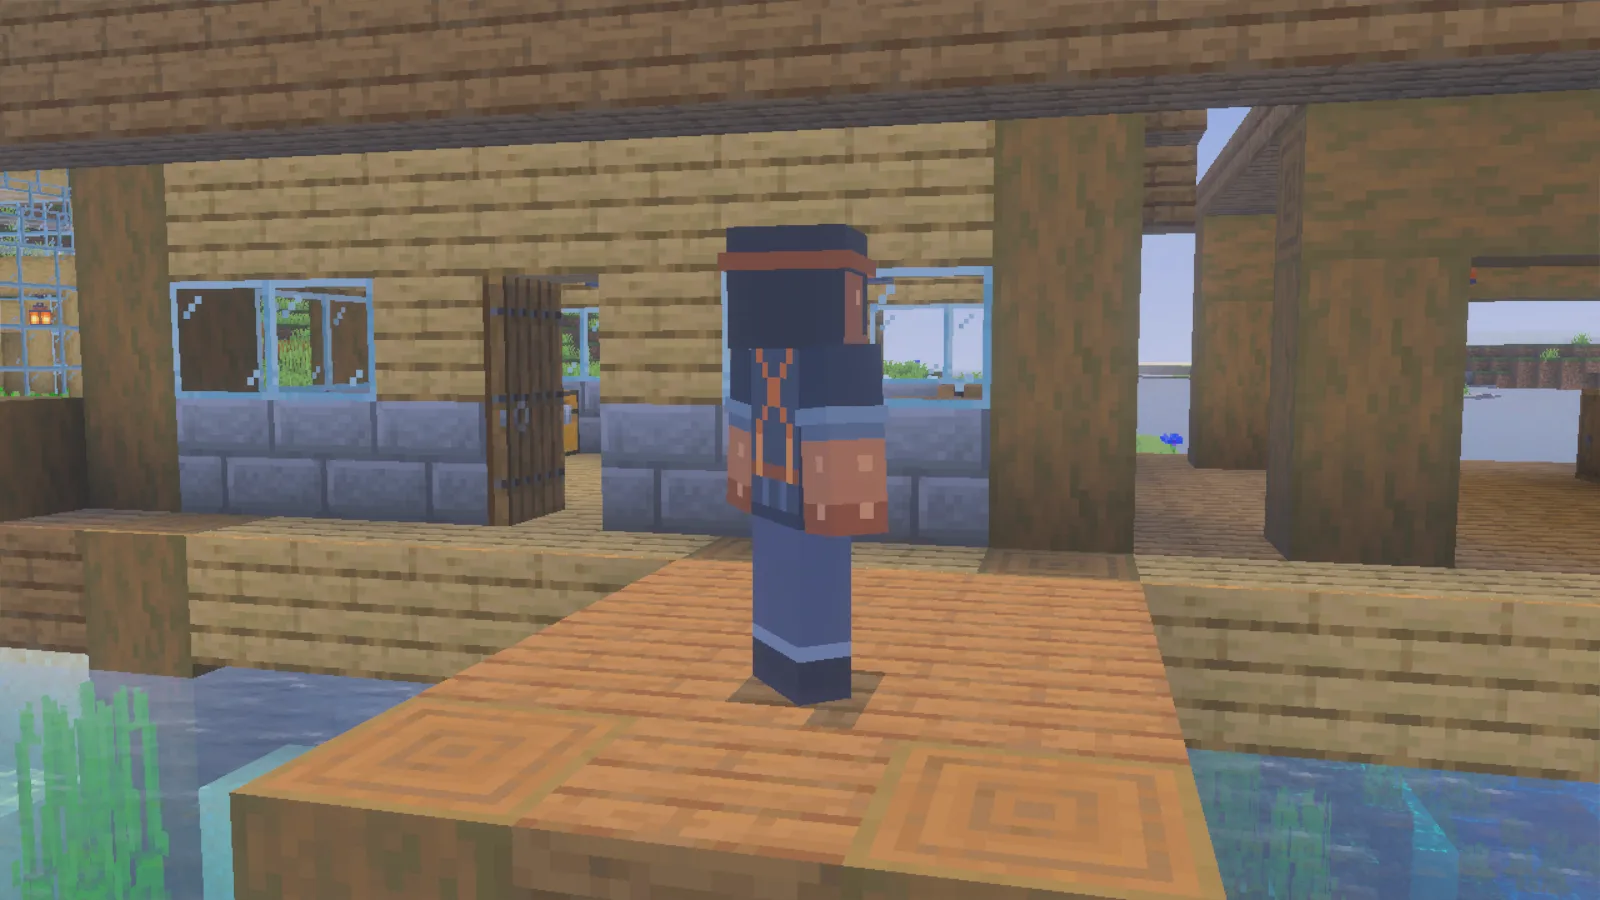
The apron straps and goggle band continue around the back.
Choose the wide-arm PNG
Use modonix-copper-mechanic.png, a 64 × 64 Classic skin. Keep its original dimensions; the character preview is not the import file.
- Save modonix-copper-mechanic.png from Files. Use the original skin PNG, not a picture of the character.
- In Windows Bedrock, open Dressing Room → Classic Skins.
- Under Owned Skins, select the blank character tile and choose Choose New Skin. Select the saved PNG.
- When the two model previews appear, choose the right-hand, wide-arm model. This artwork uses Classic arms, four pixels wide; Slim uses three.
- Return to your character and check the goggles, sleeves and back before taking an outfit picture.
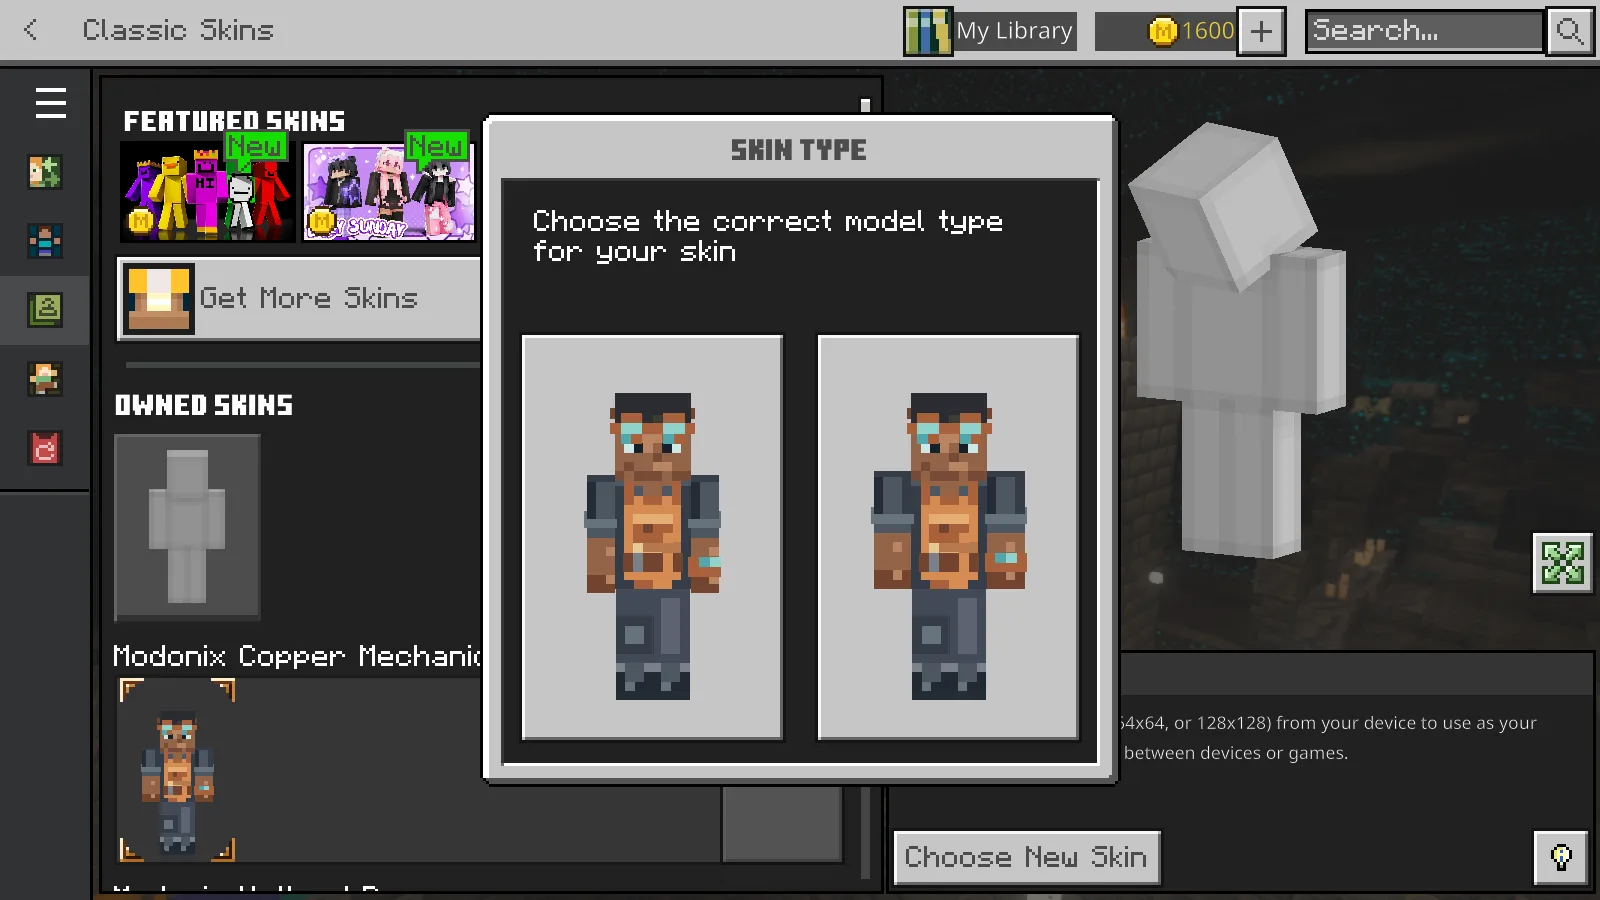
Choose the wide-arm model on the right for Copper Mechanic.
If a sleeve looks misplaced, check that you selected the wide body before editing the pixels. Choosing Slim changes the arm layout. The Source ZIP contains the editable drawing and exporter; it is not a skin file to select in Minecraft.
The separate one-skin MCPACK contains the same artwork. Open it with Minecraft, then find Modonix Copper Mechanic under Classic Skins. If the pack does not appear straight away, close and reopen Minecraft, then return to Owned Skins.
Make a small color edit
Try changing the turquoise lenses and wrist accent together. Preserve the shading and check the goggle band and apron straps after exporting.
The Source ZIP offers two ways to edit the drawing. For visual editing, open a working copy of source/skin.ora in an OpenRaster-capable editor. Its base, details and outer layers are also included as separate PNGs. Keep the canvas at 64 × 64, use a one-pixel pencil with smoothing off, and preserve transparent areas around the outer layer. Export a flattened PNG from the editor and keep the layered copy for later changes.
For the alternative code-based workflow, follow the README included in the Source ZIP. Keep the layered drawing when you export your finished PNG so later colour edits remain easy.
Comments 0
Share what worked, ask for help or reply to another player.
Use your Modonix account to join the discussion and manage your comments.
Sign in to commentNo comments yet. Share what worked for you.