A rocket and its open-frame service tower make a useful landmark in Rocket Launch Park. Broad roads lead between glass-fronted buildings, colored signs and a central launch plaza, so the park is easy to read as a collection of places. Visit it for a short Creative wander, or use its road markings, oversized lettering and interiors as ideas for your own spaceport.
The park comes from Haibo Wang / iamsanpi’s Bedrock theme-park generator. The prebuilt world here is a Modonix compatibility r1 edition prepared from that project, with command compatibility changes for Minecraft for Windows 26.52 and a safe starting point on the entrance road. The original author’s design credit and MIT notice are retained.
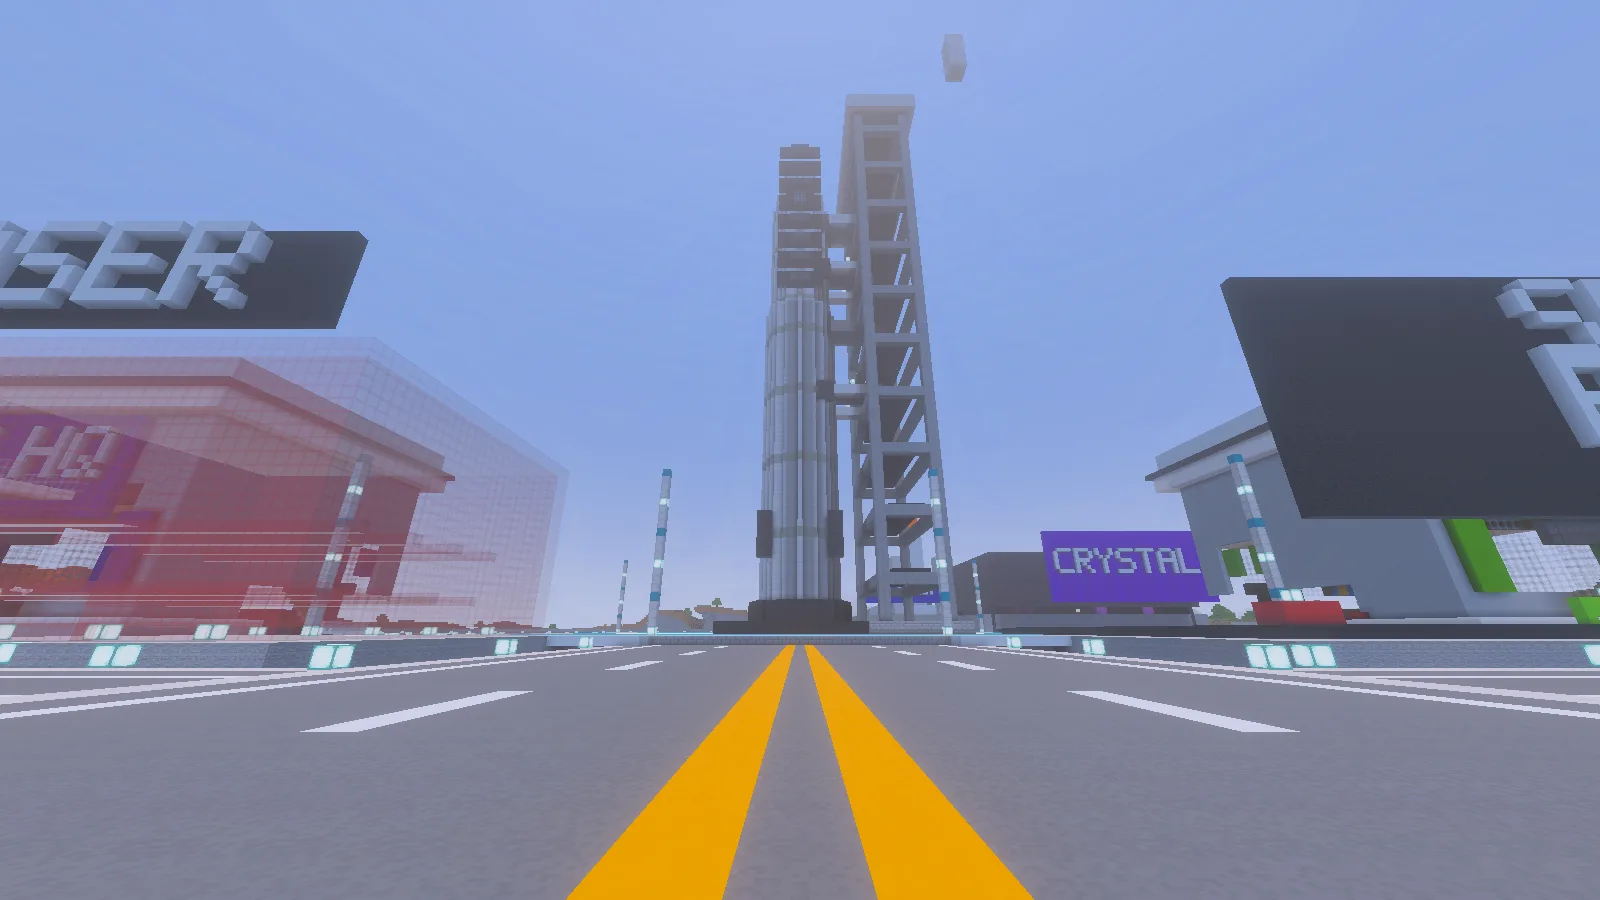
The road leads toward the rocket and service tower; the small detached piece remains visible above them.
Expect a build to explore and adapt: the HQ has an open cut through its lower front, and a small floating piece remains above the tower. Keep a copy of the supplied world, then use Creative mode to finish those edges in your own version. The roads, plaza and interiors give you a starting point for that project.
Import the Creative showcase
Download the prebuilt MCWORLD from Files. In Minecraft for Windows, choose Play → Import world, select the file, and open the imported world from Worlds. The park is already placed; you do not need Node.js, the browser generator or a separate building step.
Keep the included behavior pack enabled and begin in the supplied Creative world. Before changing the buildings, make a copy through the world’s settings so the original layout stays available for another visit. Work in the copy when replacing walls, extending roads or clearing room for your own structures.
Avoid running /function build or /function clear in this supplied world. Those belong to the generator’s construction workflow and can replace or remove the park. Ordinary movement and Creative building are enough for the visit described below.
Follow the road to the rocket
Start on the approach road and follow its yellow center lines toward the tall rocket tower. The entrance and fence openings line up with this route. Walking at ground level makes the scale much clearer than flying straight to the top: lamp posts, curbs and wide intersections give the launch complex a sense of size.
Snow may cover the entrance road after reopening the world. Follow the lamp posts and gate opening if it hides the painted lines.
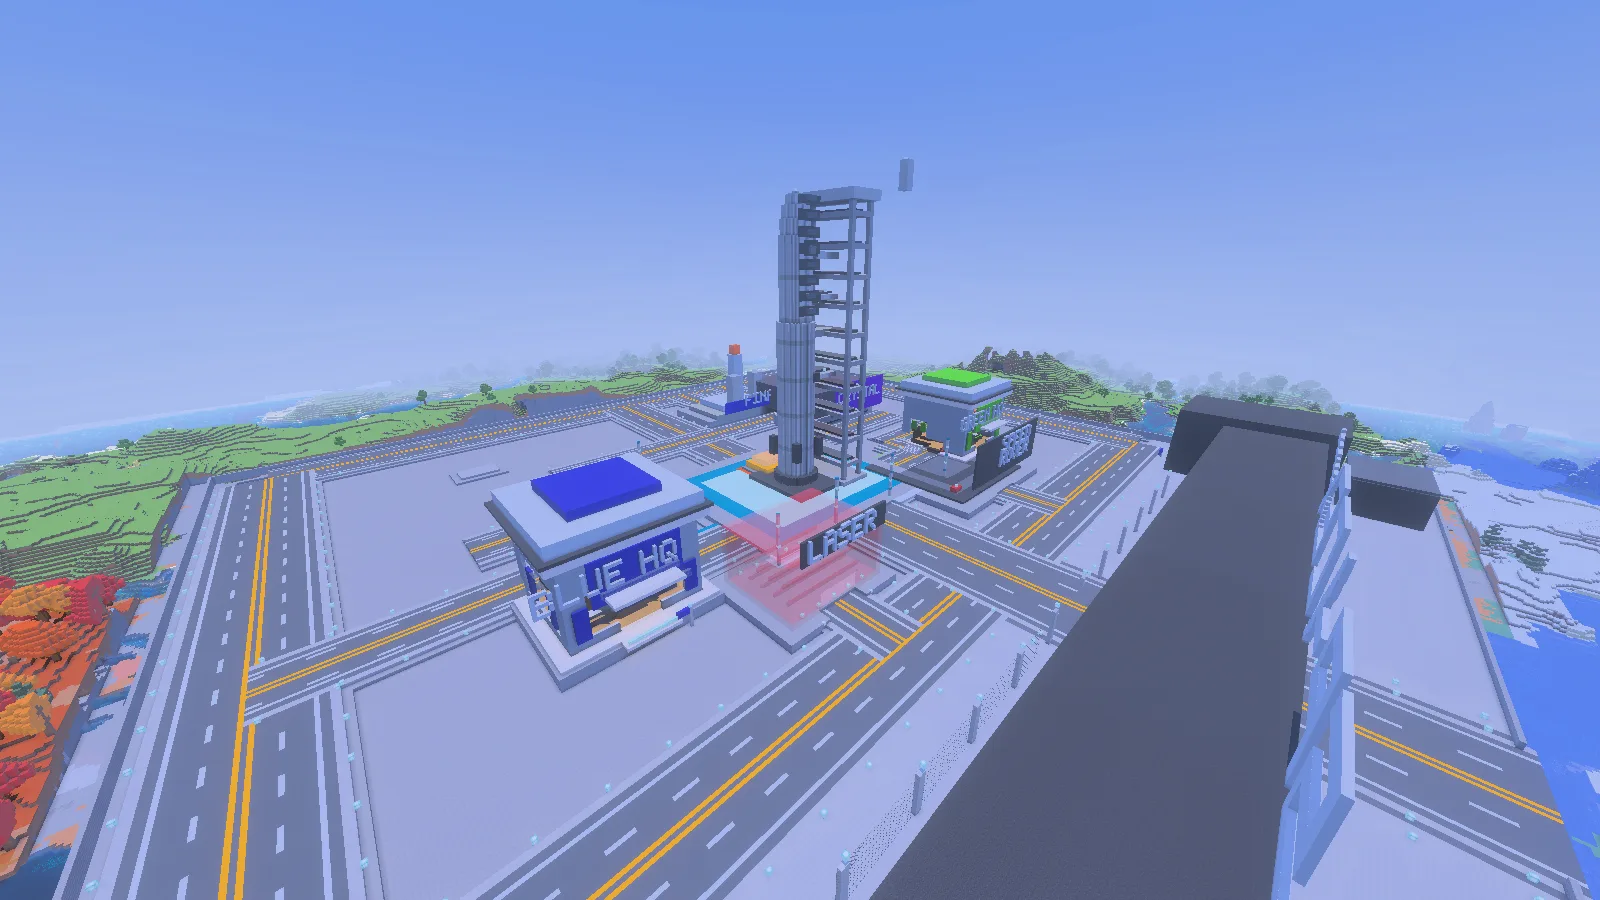
The central area places the rocket between the HQ buildings and large landmark signs.
Pause at the plaza and look back toward the entrance. It is a useful viewpoint for seeing how the road connects the park’s buildings. The large LASER and CRYSTAL lettering gives separate areas recognizable landmarks; use those signs to orient yourself before choosing the next building to examine.
For a screenshot, move a little to one side of the road so the tower and rocket separate against the sky. A ground-level view emphasizes height, while a higher angle explains the street layout. Leave space above the rocket when framing it rather than cutting off its tip.
Look inside an HQ building
An HQ interior changes the pace from wide roads and huge structures. Its glass walls bring the surrounding park into view, while wooden platforms, bookshelves and stairs divide the room into smaller spaces. Look around the accessible lower room and compare the raised areas with the open cut across the front. In your editing copy, decide where the floor and outer wall should continue before adding furniture.
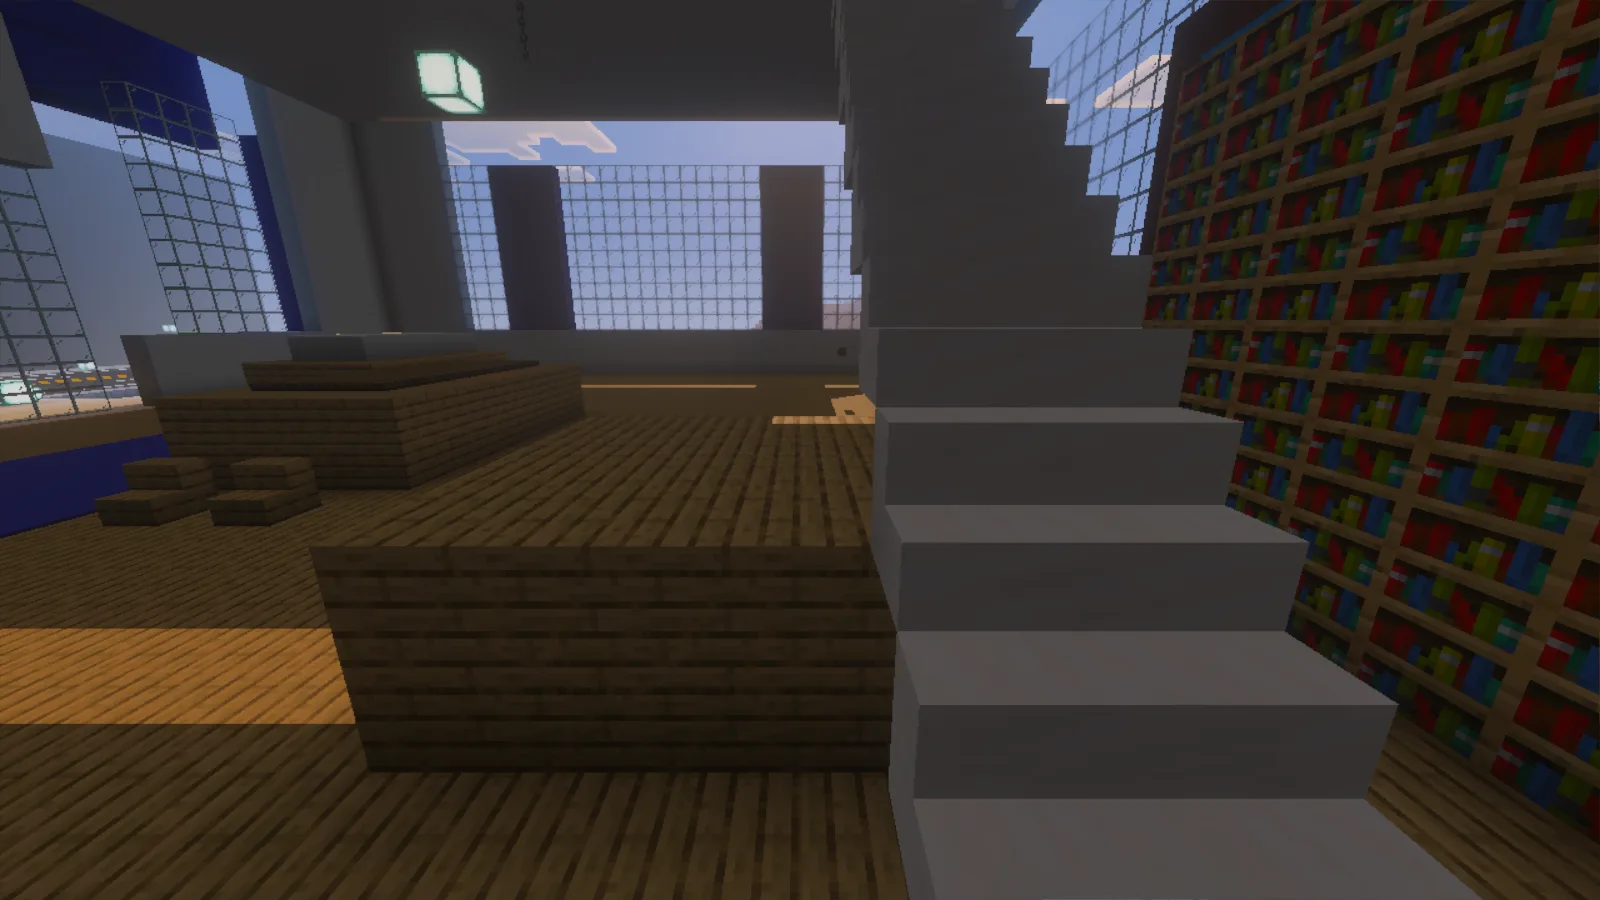
The HQ lower room contains wooden platforms, bookshelves and a staircase beside the unfinished frontage.
This is a useful starting point for a mission-control room of your own. Try adding a compact desk area beside a window, a storage corner under a raised platform or color-coded signs for different teams. Keep the entrance and stairs clear so decoration does not turn the route into a squeeze.
Take one idea into your own build
Start small instead of extending every road at once. Repeat the park’s curb and lighting pattern beside one new workshop, then connect it to an existing intersection. Or build a smaller observation room with a view of the tower. A repeated material palette will help the addition feel connected even if its shape is different.
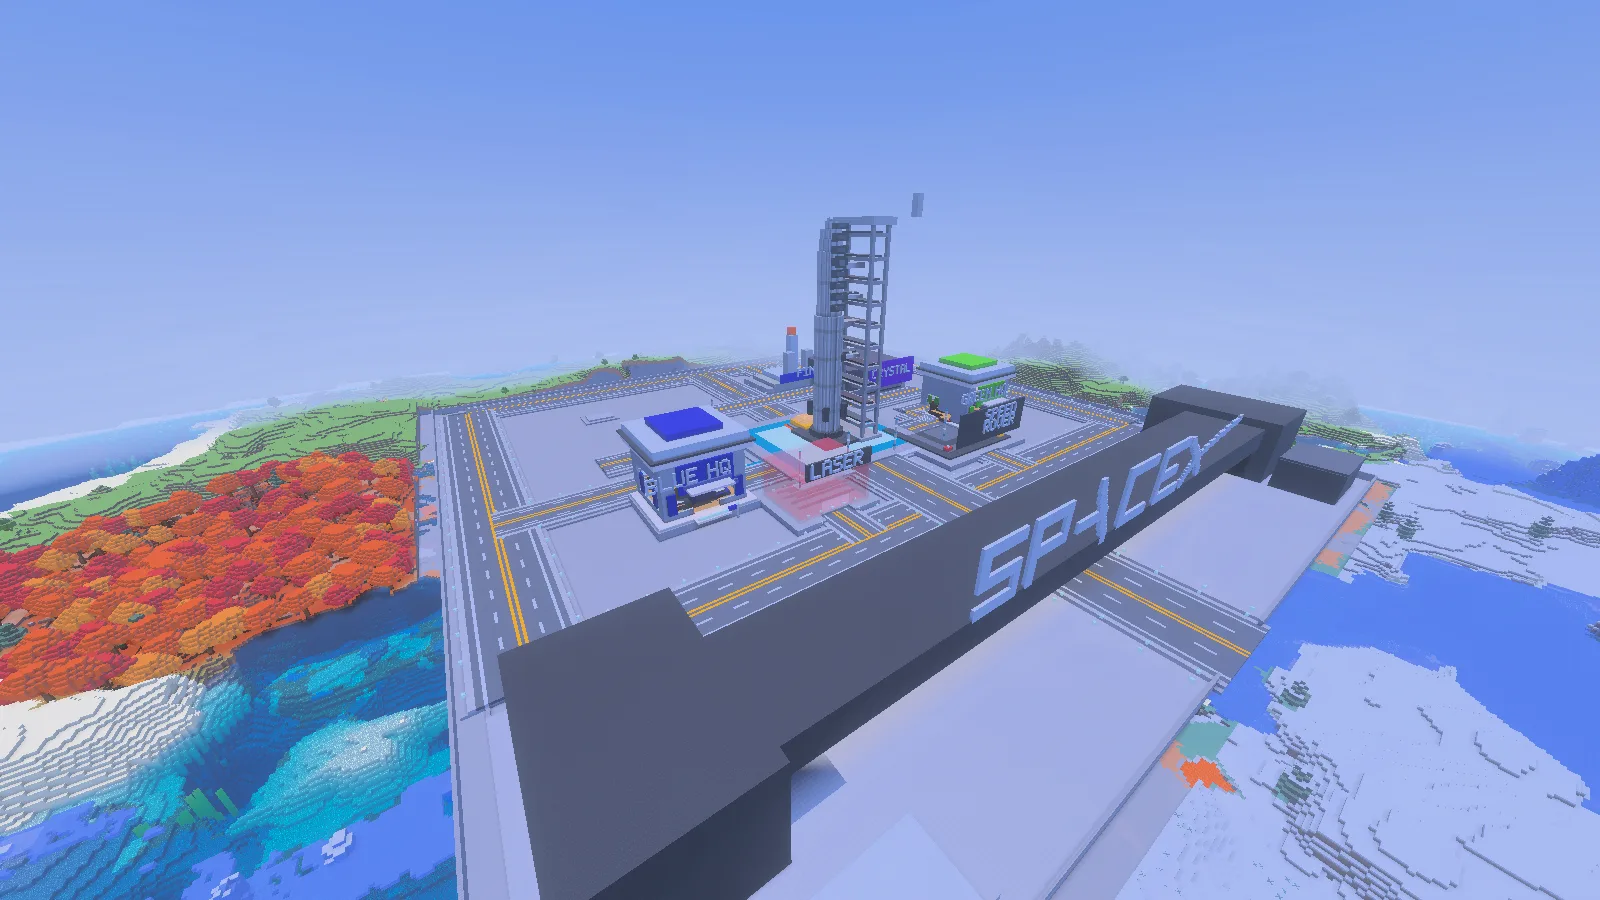
Wide roads and open plots leave room to extend the park in your own editing copy.
The rocket supplies a strong visual destination for these changes. Plan the view from your new building before filling its windows or raising another tall structure beside it.
Comments & questions
Share what worked, ask for help or reply to another player.
No comments yet. Share what worked for you.